[Swift]SwiftUIを使って簡単なiOSアプリをつくってみる
僕の使っている PC は MacBook Pro なのですが、 Mac といえば XCode が使えて、iOS アプリを作ることができる・・・ということで、 アプリ制作も Swift も未経験ですが、かんたんなアプリを作ってみました。
とりあえず動くものを作る を目標にやってみました。
作ったもの
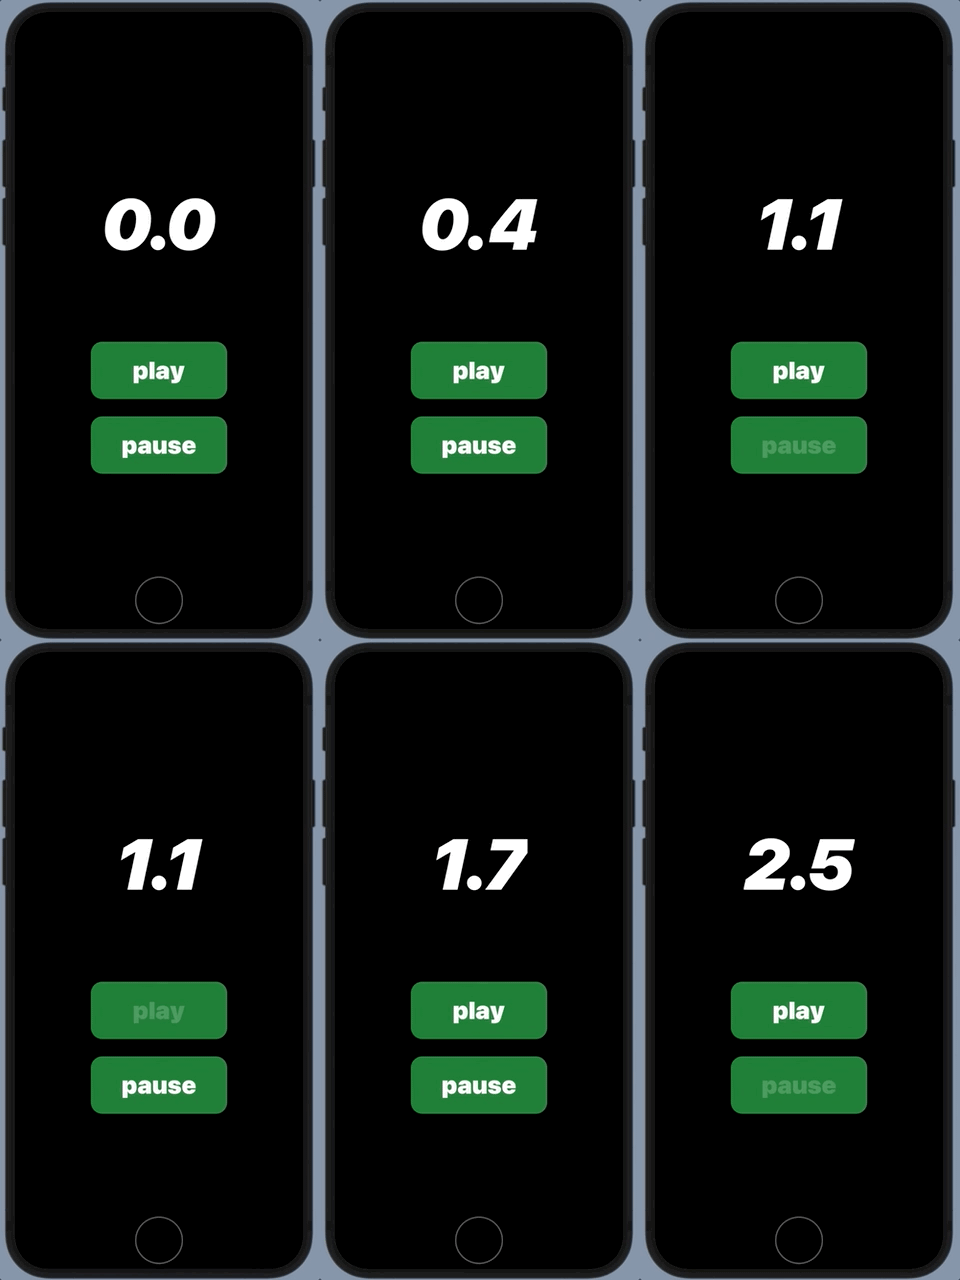
作ったものはストップウォッチです。
使うコンポーネントは時間を表示するテキスト1つと、ボタン 2 つ。
動作は start ボタンを押したら開始、pause で停止するだけです。

ソースコード
import SwiftUI

struct ContentView: View {

    @State var timer: Timer? = nil
    @State var timeCount: Double = 0.0

    var body: some View {
        ZStack {
            Color.black.edgesIgnoringSafeArea(.all)
            ZStack {
                VStack {
                    HStack {
                        Text(timeFormat(time: timeCount))
                            .font(.system(size: 100, weight: .black))
                            .italic()
                            .foregroundColor(Color.white)

                    }
                    .padding(.top, 120)

                    Spacer()

                    VStack {
                        Button(action: {
                            if timer == nil {
                                timer = Timer.scheduledTimer(withTimeInterval: 0.1, repeats: true) {_ in
                                    timeCount += 0.1
                                }
                            }
                        }) {
                            Text("play")
                                .font(.system(size: 34, weight: .black))
                                .foregroundColor(.white)
                        }
                        .frame(width: 190, height: 80)
                        .background(Color.green.opacity(0.65))
                        .cornerRadius(16)
                        .padding(.bottom, 16)

                        Button(action: {
                            if let tmpTimer = timer {
                                tmpTimer.invalidate()
                            }
                            timer = nil
                        }) {
                            Text("pause")
                                .font(.system(size: 34, weight: .black))
                                .foregroundColor(.white)
                        }
                        .frame(width: 190, height: 80)
                        .background(Color.green.opacity(0.65))
                        .cornerRadius(16)
                    }
                    .padding(.bottom, 120)
                }
            }
        }
    }

    func timeFormat(time: Double) -> String {
        return String(format: "%.1f", time)
    }
}
実装メモ
Stack を使ってレイアウト
レイアウトを担当するビューが3種類あるみたいです。
- HStack: 子を水平に配置する View
- VStack: 子を縦に並べて配置する View
- ZStack: 子をオーバーレイ(重ねて表示する)し、両方の軸に揃える View
こんな感じに書くだけで、背景色が全て黒にしたビューの上に、コンポーネントを色々載せたビューを配置することができました。すごいぜ ZStack!!
ZStack {
    Color.black.edgesIgnoringSafeArea(.all)
    ZStack {
        ...
    }
}
参考)View Layout and Presentation
レイアウト
レイアウトの構成はこのような感じです。Spacer を置くだけでいい感じにテキストとボタンの間隔を開けてくれるので便利。
VStack {
    HStack {
        Text()
    }

    Spacer()

    VStack {
        Button()
        Button()
    }
}
Timer の処理
メンバ変数に timer と表示に使う timerCount を宣言。
@State var timer: Timer? = nil
@State var timeCount: Double = 0.0
play ボタンクリックで Timer 開始。
調べていないけど、0.1 秒ごとにコールバック関数が呼ばれる感じだろうか。
そして、関数内で timeCount を 0.1 ずつ加算する。
Button(action: {
    if timer == nil {
        timer = Timer.scheduledTimer(withTimeInterval: 0.1, repeats: true) {_ in
            timeCount += 0.1
        }
    }
})
pause ボタンクリックで Timer を止めて破棄。
Button(action: {
    if let tmpTimer = timer {
        tmpTimer.invalidate()
    }
    timer = nil
})
感想
宣言的 UI っていうんですかね。SwiftUI が直感的に書くことができてわかりやすかったです。 レイアウトもしやすかった。
作ってみて楽しかったので、今後も少しずつ勉強していこうと思います。